What a vocal chain plugin does
A vocal chain plugin runs the processors a vocal needs on one insert, in a fixed order, so you spend your time mixing the voice instead of building the routing. In Velvet that order is low cut, de-esser, compressor, presence and air EQ, warmth (saturation), doubler and a short reverb called Space.
The order matters more than most producers expect. Cutting rumble before the compressor stops it from reacting to low thumps you can't hear. De-essing before compression keeps the compressor from clamping down on every S. Adding air after compression means the compressor can't squash the brightness you just added. Saturation comes after the EQ so it colors the tone you chose, and the doubler and reverb come last because they should process the finished voice, not the raw take. For the long version, read what a vocal chain is and why the order matters.
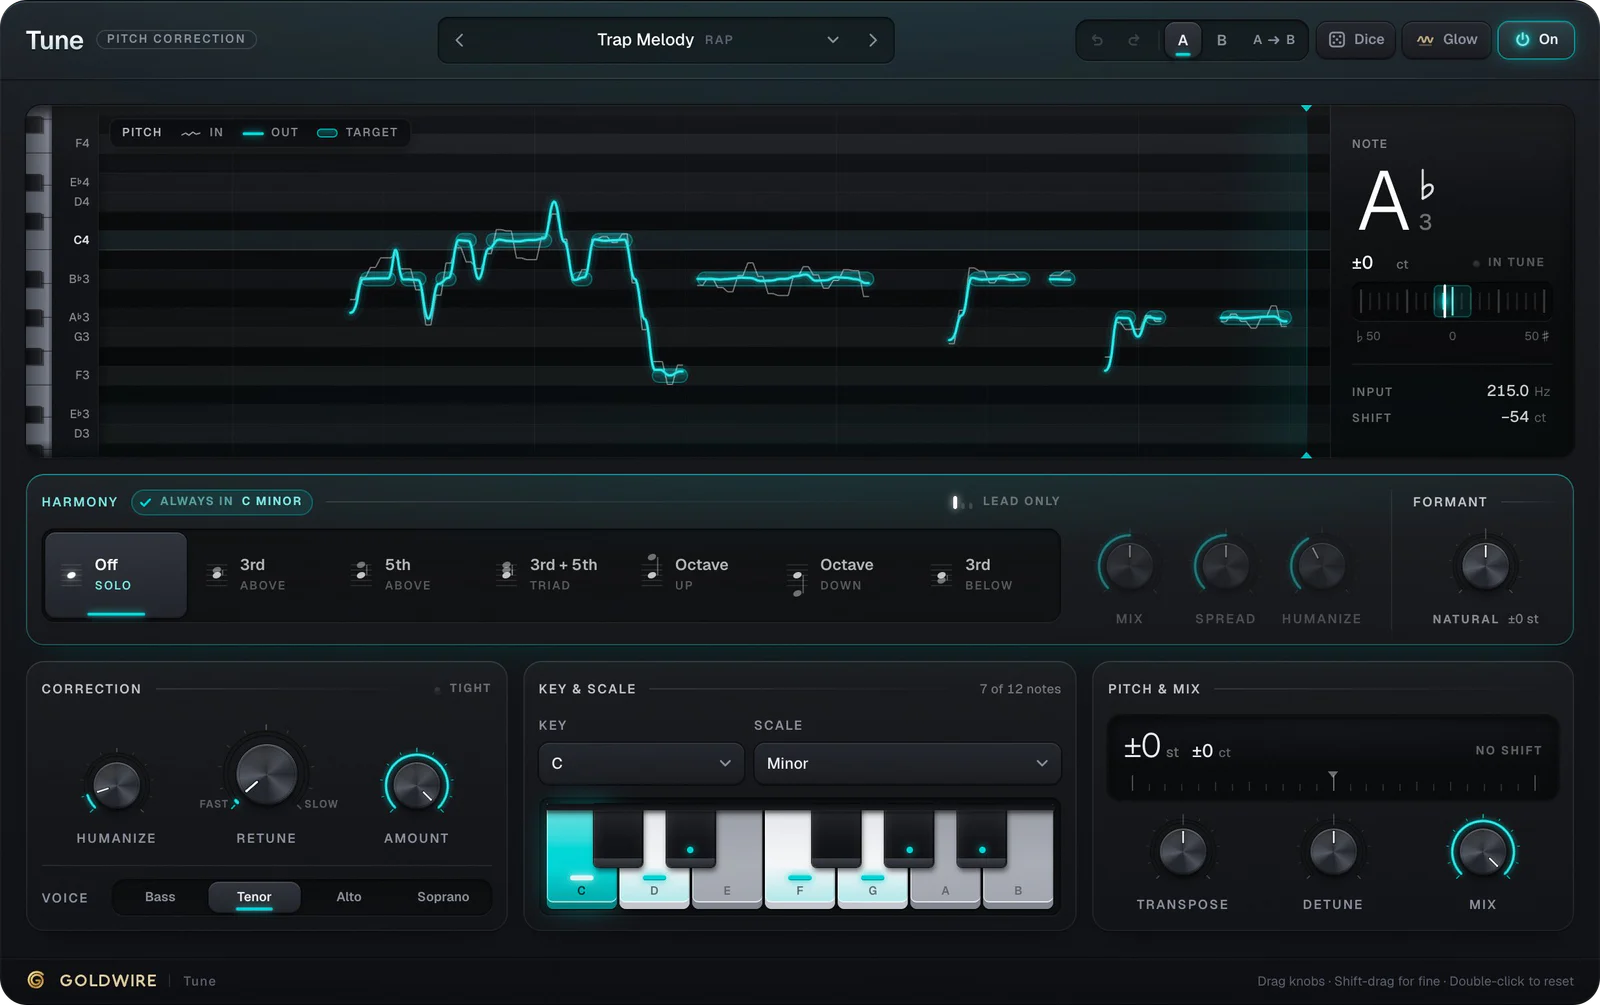
Velvet does not correct pitch. If the vocal needs tuning, put a pitch correction plugin such as Tune on the insert before Velvet, so the de-esser and compressor react to the corrected notes.
Vocal chain presets and when to use each one
Start from the preset closest to your genre and the way the vocal was recorded, then adjust two or three knobs. The presets get the balance between stages right; your voice, mic and room decide the final amounts.
Trap Lead
- Best for
- Upfront rap and melodic trap leads
- What sets it apart
- Compress at 70%, strong Presence and Air, Low Cut at 110 Hz, very little Space
Pop Sheen
- Best for
- Pop leads that need a polished top end
- What sets it apart
- The most Air of any preset (9 dB), some Double and a bit more Space
R&B Silk
- Best for
- Smooth R&B and soul
- What sets it apart
- Gentle Presence, more Warmth, Double and Space for a softer, wider voice
Rap Ad-libs
- Best for
- Ad-libs and hype vocals behind the lead
- What sets it apart
- Low Cut at 200 Hz, Double at 70% and heavy Warmth, pulled down 3 dB
Backing Stack
- Best for
- Harmonies and stacked backing vocals
- What sets it apart
- Presence cut by 2 dB, Double at 90% and firm De-ess so stacks don't pile up sibilance
Podcast Clean
- Best for
- Speech, podcasts and voice-over
- What sets it apart
- Firm De-ess and Compress, no Double and no Space
Indie Room
- Best for
- Indie, folk and singer-songwriter
- What sets it apart
- Light compression, more Warmth and the most Space (50%)
Telephone Hook
- Best for
- Intros, bridges and lo-fi hooks
- What sets it apart
- Low Cut at 400 Hz, Presence at the maximum 9 dB, heavy Warmth: thin and mid-forward on purpose
Play the demo below and listen to how Trap Lead pushes the voice forward and keeps it dry and close. Then switch to R&B Silk and the same take gets softer, wider and sits further back.
- Low cut110Hz
- De-ess45%
- Comp70%
- Presence+5.0dB
- Air+7.0dB
- Warmth35%
- PolishOff
- Space12%
Listen
Auto set-up- Low cut
- 110Hz
- De-ess
- 45%
- Comp
- 70%
Clean-up
Listen sets theseColor & space
Tone
Output
Polish
The finishThe real plugin engine, running in your browser: same DSP code and presets as the VST3/AU/AAX.
Vocal mixing settings for each knob
If you build your own sound from Default, work down the chain in order and set each knob with the beat playing. Soloed vocals lie: what sounds harsh on its own is often fine against hi-hats, and what sounds full on its own can turn to mud in the mix.
- Low Cut (20 to 400 Hz): start around 80 to 100 Hz for deeper voices and 100 to 120 Hz for higher voices and rap leads. Raise it until the voice starts to thin, then back off a little.
- De-ess: play the loudest S in the song and raise it until that S stops jumping out. Past that point the singer starts to lisp.
- Compress: 40 to 60% for most sung vocals, 60 to 75% for rap, where every word has to read. The level should feel steady from the first word of a line to the last.
- Presence (-6 to +9 dB): +2 to +5 dB brings a vocal forward in a busy beat. If it turns shouty or nasal, you've gone too far.
- Air (0 to 12 dB): 4 to 8 dB suits modern pop and rap. Set it after De-ess, then check De-ess again, because air brings sibilance with it.
- Warmth: 20 to 40% thickens a thin recording and helps it cut through on phone speakers. Higher settings are an effect.
- Double and Space: set these last, with the full mix playing. Lead vocals usually want less of both than you think.
Finish with Output. Bypass Velvet in your DAW and match the processed level to the dry one, because louder always sounds better for a few seconds, and that is how vocals end up over-processed. Mix blends the processed and dry signal. Around 70 to 80% keeps some of the singer's natural dynamics while the chain still does most of the work.
De-esser plugin settings that don't make the singer lisp
A de-esser turns down S, T and SH sounds only at the moment they happen. Velvet's De-ess stage watches the band from about 5 kHz up and reduces it when a sibilant spikes, so the vocal keeps its brightness between words.
Bright condenser mics and singers with sharp sibilance usually need more De-ess than dark dynamic mics. Use the presets as a guide: Podcast Clean and Backing Stack de-ess hard because spoken word and stacked vocals expose every S, while Indie Room de-esses lightly to keep the take natural. If a vocal still sounds lispy at the setting that controls the loudest S, lower Air a little instead of pushing De-ess further.
Vocal doubler plugin settings for hooks and stacks
The Double knob adds two modulated copies of the voice panned left and right, the classic way to make one take sound like a stacked hook. It works best on hooks, ad-libs and backing parts. On a lead verse, keep it below about 20%, or the vocal loses its focus in the center.
Rap Ad-libs and Backing Stack show the other extreme. In the demo below, Backing Stack moves the voice out to the sides and slightly behind the speakers, which is where harmonies belong so the lead keeps the middle to itself.
- Low cut160Hz
- De-ess55%
- Comp65%
- Presence−2.0dB
- Air+8.0dB
- Warmth20%
- PolishOff
- Space45%
Listen
Auto set-up- Low cut
- 160Hz
- De-ess
- 55%
- Comp
- 65%
Clean-up
Listen sets theseColor & space
Tone
Output
Polish
The finishThe real plugin engine, running in your browser: same DSP code and presets as the VST3/AU/AAX.
Listen and Polish: vocal settings matched to your voice
The hardest part of any vocal chain is the first three settings: how much low end to cut, how hard to de-ess and how much to compress. They depend on the singer, the mic and the room, which is why one preset never fits everyone. Press Listen and sing for about four seconds. Velvet measures the rumble, harshness and dynamics of your voice and sets Low Cut, De-ess and Compress for it.
Sing a loud, representative part of the song while Listen is on, at the distance from the mic you used for the take, so it hears the real sibilance and the real level swings. Then set Presence, Air, Warmth, Double and Space by ear. Those are taste, not measurement.
Polish is the last step. It's one knob for the expensive, finished sheen that usually takes several more plugins: dynamic presence, an airy exciter and an automatic de-harsh that only reacts on edgy notes. Because the de-harsh follows the voice, Polish can add more brightness than a static Air boost before the vocal turns brittle. Just Polish isolates it: Polish at 100%, a light 80 Hz low cut, gentle De-ess and Compress, and every other stage off. Polished Pop Lead (70%), Radio Ready (80%) and Huge Hook (85%) combine it with the full chain. Polish makes a vocal brighter and louder, so level-match with Output before you judge it.
Using Velvet in FL Studio, Ableton Live and Pro Tools
Velvet goes on the vocal track itself as an insert, not on a send. Put it after pitch correction and before creative effects such as delay throws.
- FL Studio: route the vocal to its own Mixer insert, then load Velvet in an empty effect slot on that insert. If you use a tuning plugin, put it in the slot above Velvet. Our FL Studio plugin guide covers installing VST3s.
- Ableton Live: drag Velvet from the Plugins section of the browser onto the vocal audio track. Devices run left to right, so place it to the right of your tuning plugin.
- Pro Tools: Velvet comes as AAX. Click an insert slot on the vocal track and choose it from the plug-in menu. Inserts run top to bottom, A to J.
- Logic Pro: load the AU version in an Audio FX slot on the vocal's channel strip.
With many backing vocals, route them all to one bus and put a single Velvet with Backing Stack on that bus. One instance is quicker to adjust, and the stack is compressed and de-essed as one sound.
One vocal chain plugin vs separate vocal mixing plugins
Separate plugins give you more control. You can pick a specific compressor character, set the de-esser frequency exactly or use a long convolution reverb. An all-in-one vocal plugin is faster and harder to get wrong, which suits producers who mix their own vocals and engineers who need a solid rough mix in minutes.
The approach that works for most sessions: use Velvet as the base chain, then add specialist plugins around it when a vocal needs something specific, like a long reverb on a send or a delay throw on the last word of a line. For a wider overview of what else belongs in a vocal toolkit, see the best vocal plugins.